
The bulky wrap can be the first surprise after carpal tunnel release. A hand that felt familiar before surgery may suddenly be hidden inside layers of gauze, padding, and tape, making simple tasks such as dressing, sleeping, or typing feel awkward. Mild tightness, swelling, and soreness can be expected, but the bandage shouldn't cause worsening pain, cold fingers, or color changes.
The safest approach is practical rather than extreme. The incision needs protection, yet prolonged or rigid immobilization isn't automatically better. The surgeon's written instructions take priority because the closure method, bleeding, medical history, and surgical technique all affect the right dressing plan.
Table of Contents
- Understanding Your Initial Post-Op Dressing
- The Truth About Bulky Dressings and Splints
- How to Change and Secure Your Bandage Safely
- Navigating Bathing and Daily Activities
- Recognizing Complications and When to Call Your Surgeon
- Your Two-Week Bandage and Recovery Timeline
Understanding Your Initial Post-Op Dressing
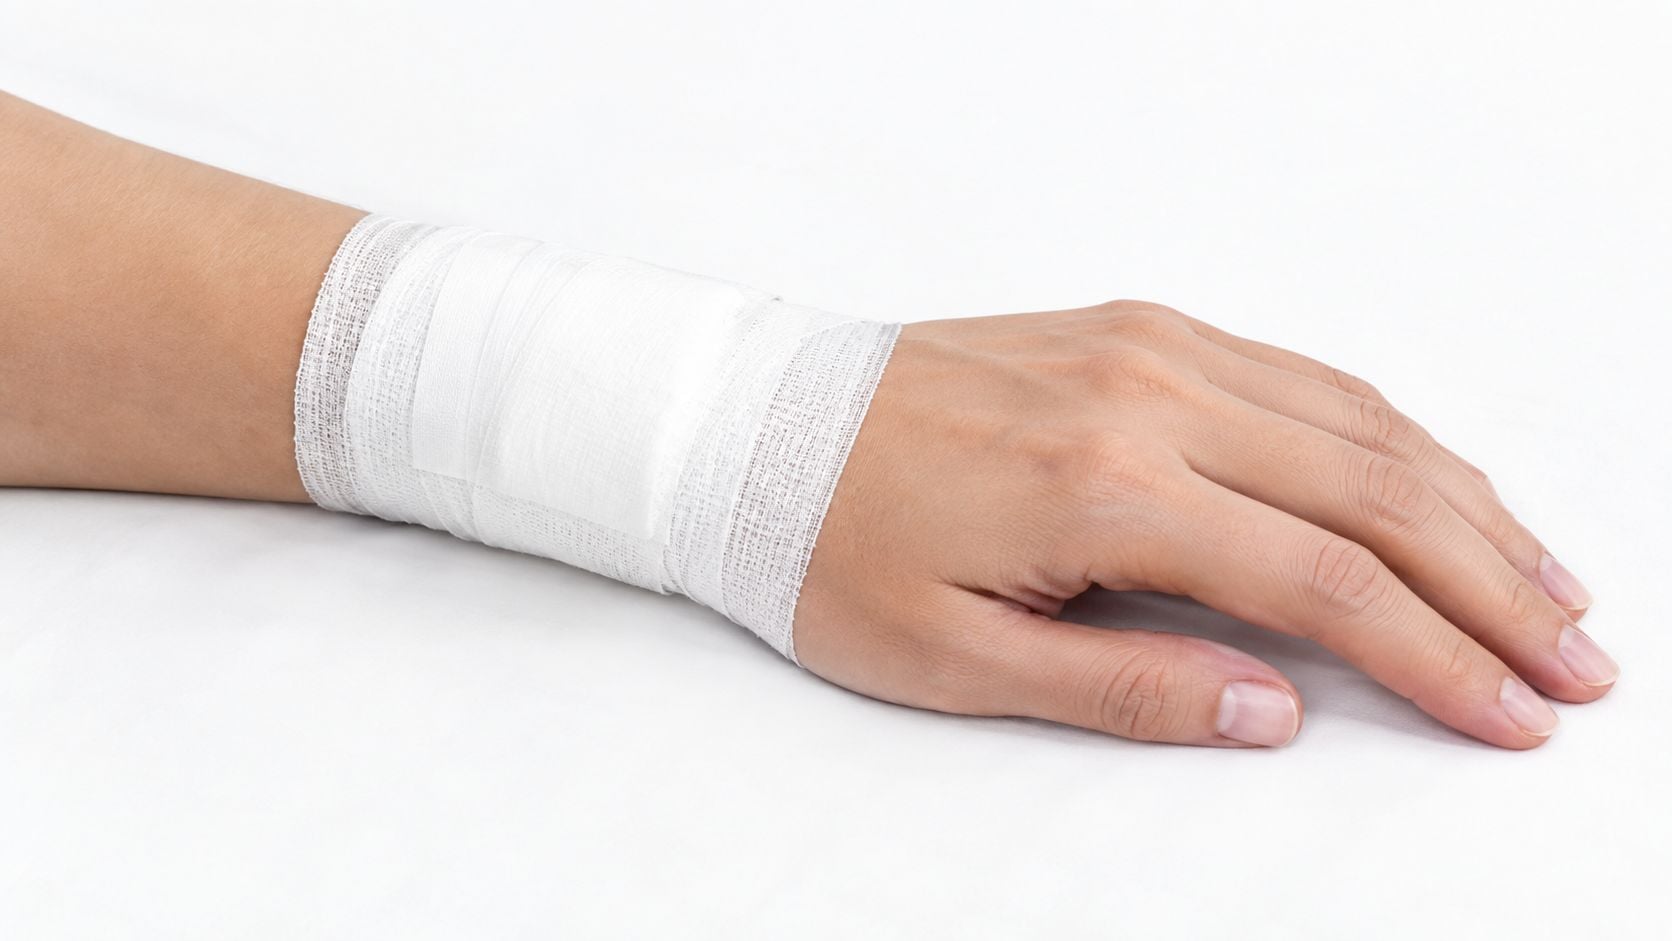
The first carpal tunnel surgery bandage usually has several jobs. A sterile layer sits closest to the incision, absorbent material catches minor drainage, and an outer wrap provides protection and gentle pressure. The padding also helps prevent accidental rubbing while the anesthetic wears off and sensation gradually returns.
The size of the dressing doesn't necessarily indicate a problem. A large wrap may be used because it protects the palm from knocks and limits contact with the wound, not because the incision itself needs a large covering. The wrap should feel secure, but it shouldn't feel like a tourniquet.
Open and endoscopic procedures
An open release generally leaves an incision in the palm area, so the dressing may cover more of the hand and wrist. An endoscopic release uses smaller access points, and the resulting covering may be lighter. These are typical differences, not rules. A surgeon may still choose a padded wrap or splint after either procedure when there are concerns about bleeding, swelling, wound protection, or patient safety.
Patients can also receive different instructions from different surgical teams. Some dressings stay in place until the first review, while others are changed or reduced earlier. A useful overview of the condition and its treatment options is available in this guide to carpal tunnel syndrome.
What to check without disturbing it
During the first day, inspect the exposed fingers rather than repeatedly opening the dressing. The fingers should remain reasonably warm and normally colored, and they should still move as instructed. Some swelling and bruising can occur, but rapidly increasing pressure, severe pain, or new difficulty moving the fingers deserves prompt advice from the surgical team.
Practical rule: A dressing can be bulky without being dangerous. It becomes concerning when it feels progressively tighter or affects finger color, temperature, sensation, or movement.
Keep the wrap clean and dry unless the surgeon has given different instructions. Elevating the hand while resting can make throbbing and swelling easier to manage, especially during the early part of recovery.
The Truth About Bulky Dressings and Splints
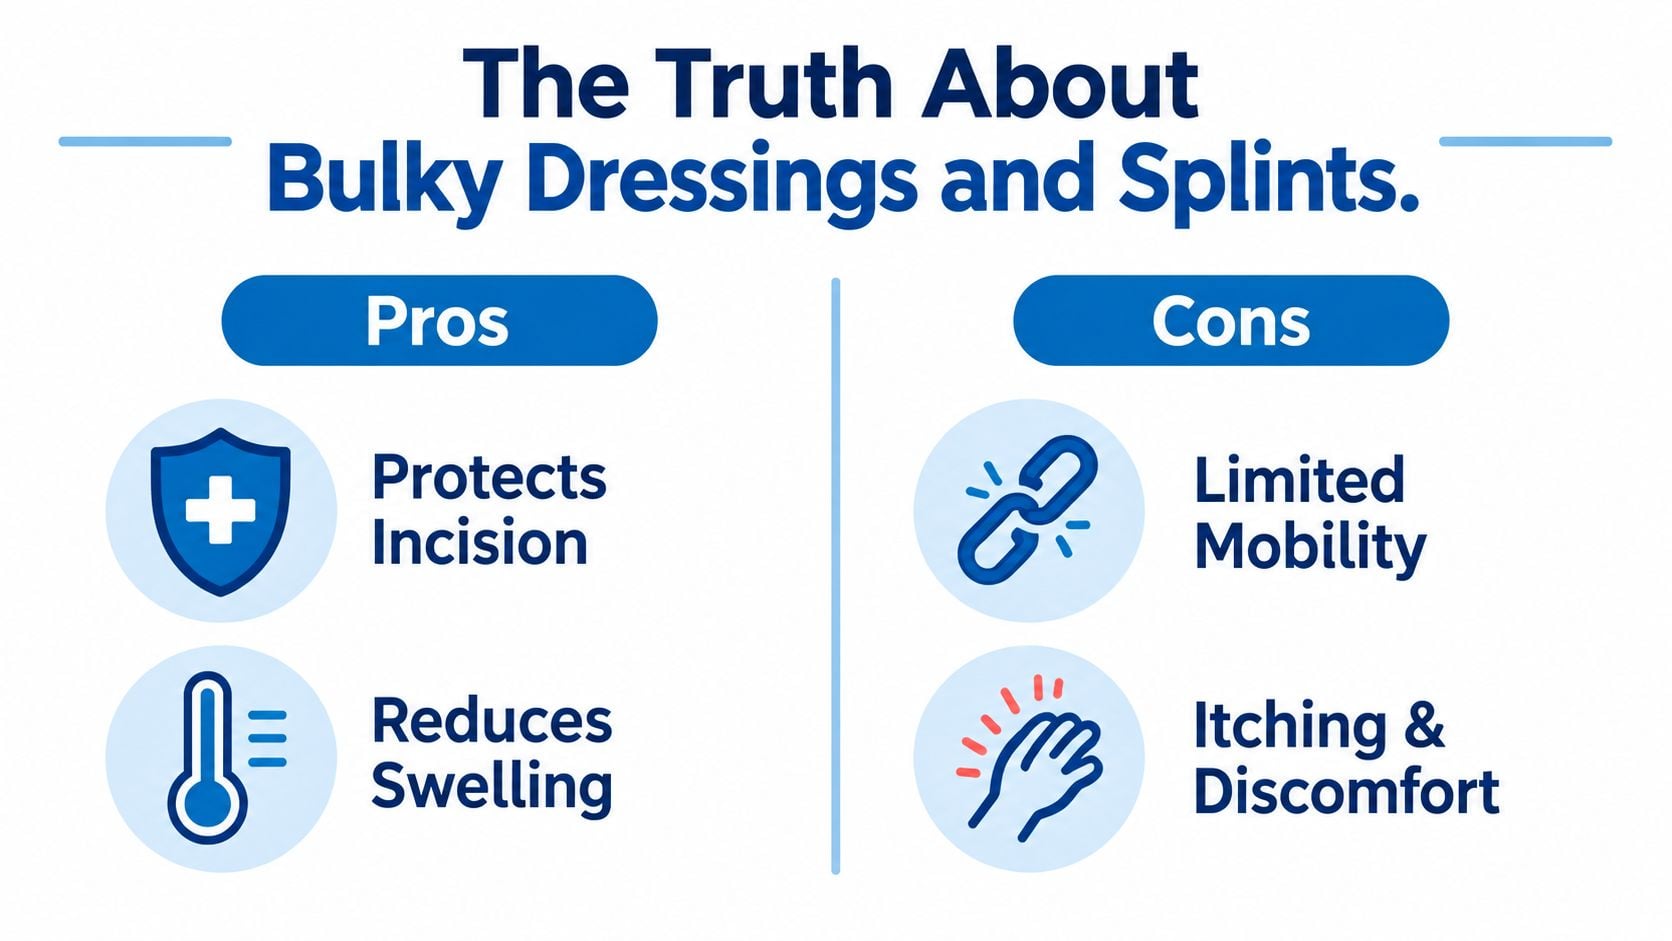
A bulky dressing protects the incision, absorbs drainage, and gives patients a physical reminder not to overuse the hand. Its drawbacks are equally real. It can restrict finger movement, interfere with sleep, make clothing difficult to pull on, and create itching or discomfort.
Routine rigid splinting doesn't consistently add measurable benefit for every patient. In a randomized trial of 40 patients across 43 carpal tunnel releases, two weeks of postoperative wrist splinting was compared with a bulky dressing alone. The study found no statistically significant differences in satisfaction, grip strength, lateral pinch strength, complications, or digital and wrist movement, and no clinical bowstringing occurred in either group. The findings are reported in the 1995 randomized splinting trial.
What the dressing can and can't do
A wrap may reduce accidental contact with the wound, but it doesn't replace careful activity control. A splint may prevent an unwanted wrist position, but immobilization can also make the hand stiff and less useful. The right question isn't whether a dressing looks protective. It's whether the selected protection matches the wound and allows safe movement of the uninvolved fingers.
Evidence also supports earlier reduction of dressing burden in appropriate cases. A prospective randomized trial involving 94 mini-open release patients compared removing the bulky dressing after 48 to 72 hours and replacing it with an adhesive strip against leaving the bulky dressing in place for about two weeks. It found no significant difference in Levine-Katz scores at either follow-up point, and only one wound dehiscence occurred, in the longer-dressing group. The findings appear in the prospective dressing-removal study.
That doesn't mean every patient should remove a dressing early. The trial supports a clinical option, not a universal instruction. The surgeon may recommend longer coverage when bleeding persists, the incision needs special protection, or the closure and patient circumstances call for it. General treatment information can also be found through the practice's treatment services.
A sensible compromise
Many recovery plans use a short period of bulky protection followed by lighter coverage. This compromise shields the incision during the most vulnerable early period while allowing finger movement and easier daily activity later. Patients shouldn't cut off a rigid splint or unwrap a dressing just because it feels inconvenient. They should contact the surgical office if the prescribed wrap seems too tight or makes movement unsafe.
How to Change and Secure Your Bandage Safely
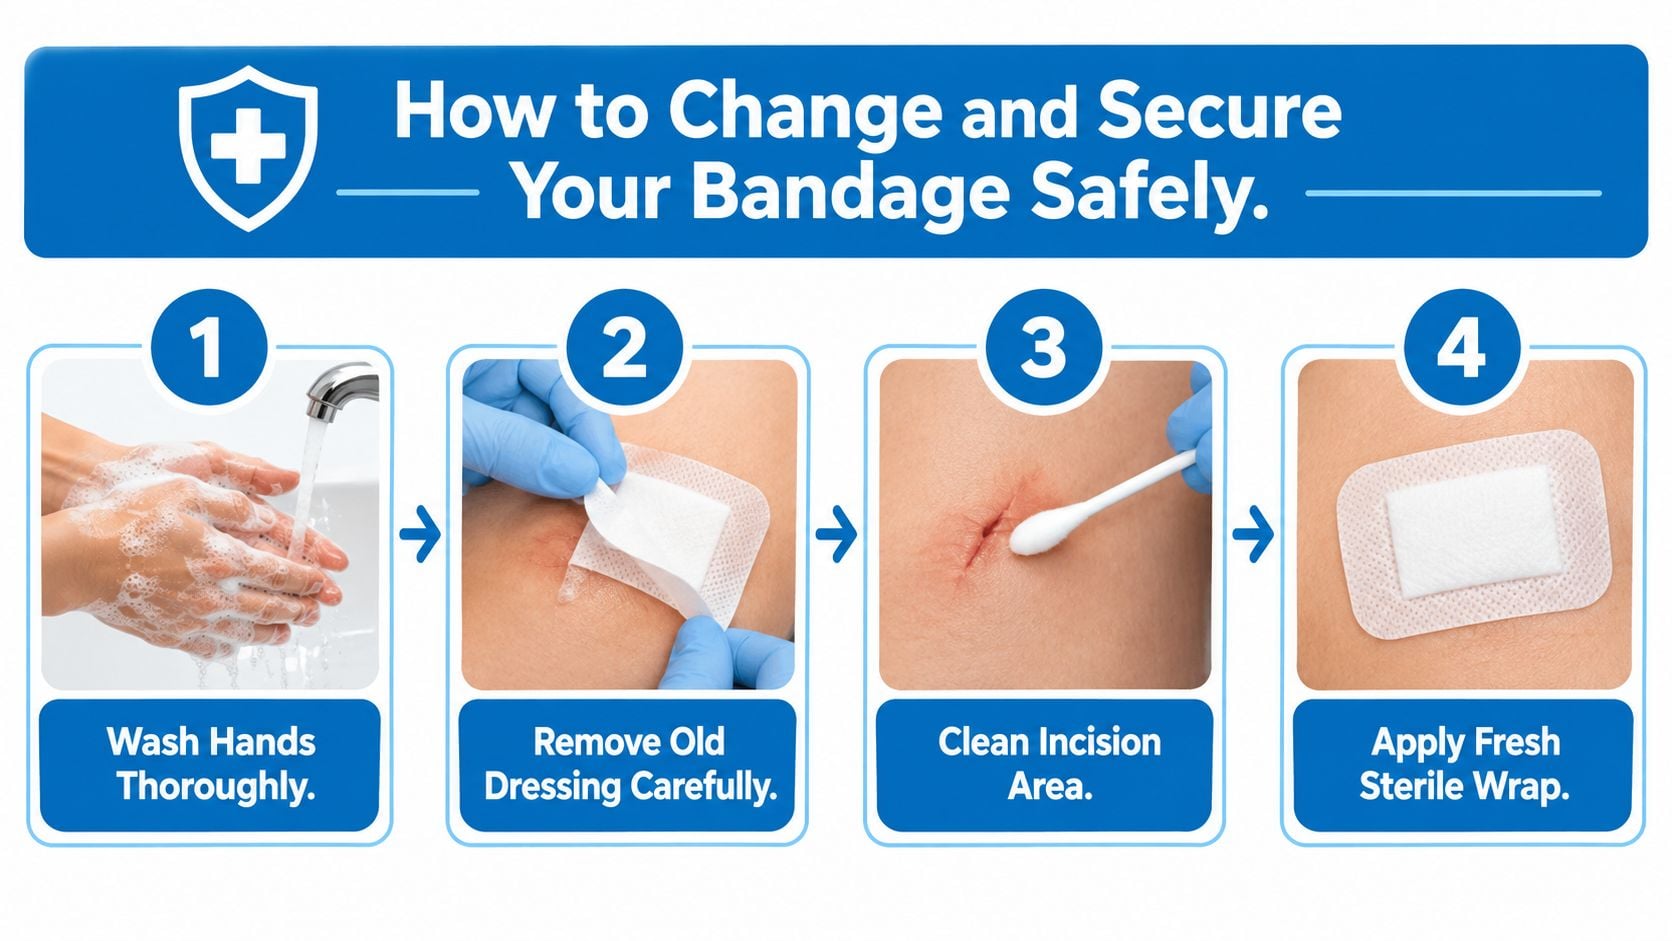
The first dressing change should be planned, not improvised. Before touching the wrap, gather clean supplies, including the replacement dressing recommended by the surgical team, fresh tape if needed, a clean surface, and a waste bag. Wash the hands thoroughly and keep pets, food, and clutter away from the work area.
A careful sequence
Confirm the timing. Follow the discharge sheet rather than choosing a change date based only on discomfort. Some teams want the first wrap left alone until review, while others permit an earlier change.
Wash and dry the hands. This is the simplest way to reduce contamination before the fingers or dressing touch the incision.
Remove the outer layer slowly. Peel tape back over itself instead of pulling upward. If gauze sticks, dampen the dressing only if the surgical instructions allow it. Never yank material away from a healing incision.
Look, don't probe. Check for increasing redness, separation, active bleeding, pus, or an unpleasant odor. Don't scrub the incision, lift scabs, or pull at adhesive strips, sutures, or skin glue.
Clean only as directed. In many protocols, gentle water or a prescribed cleansing method is sufficient. Harsh antiseptics, alcohol, peroxide, creams, and antibiotic ointments can irritate tissue unless the surgeon specifically recommends them.
Apply light protection. Place the approved sterile covering over the incision and secure it with enough tape to keep it stable. The new wrap should be supportive, not tight. Leave the fingertips visible when possible so color, warmth, and movement can be checked.
A fresh dressing should stay in place during normal movement without creating pressure, tingling, or throbbing that worsens after application.
The incision should generally remain dry during bathing until the surgeon says otherwise. A waterproof cover can help, but it shouldn't be treated as permission to soak the hand. If dressing choices are being compared for another type of wound, a general resource on which dressing heals burns fastest may provide useful background, though burn care isn't a substitute for postoperative instructions.
If the wrap becomes wet, dirty, loose, or soaked with blood, the patient should call the surgical office for direction. A dressing that is stuck to the wound, or bleeding that continues through the replacement layers, also needs professional advice rather than repeated home changes.
Navigating Bathing and Daily Activities
A patient preparing for a shower often discovers that the injured hand is needed for nearly everything, from turning a tap to shampooing hair. The solution is to organize the task before entering the bathroom. Place soap, clothing, towels, and the waterproof cover within reach, and avoid balancing on one hand while protecting the other.
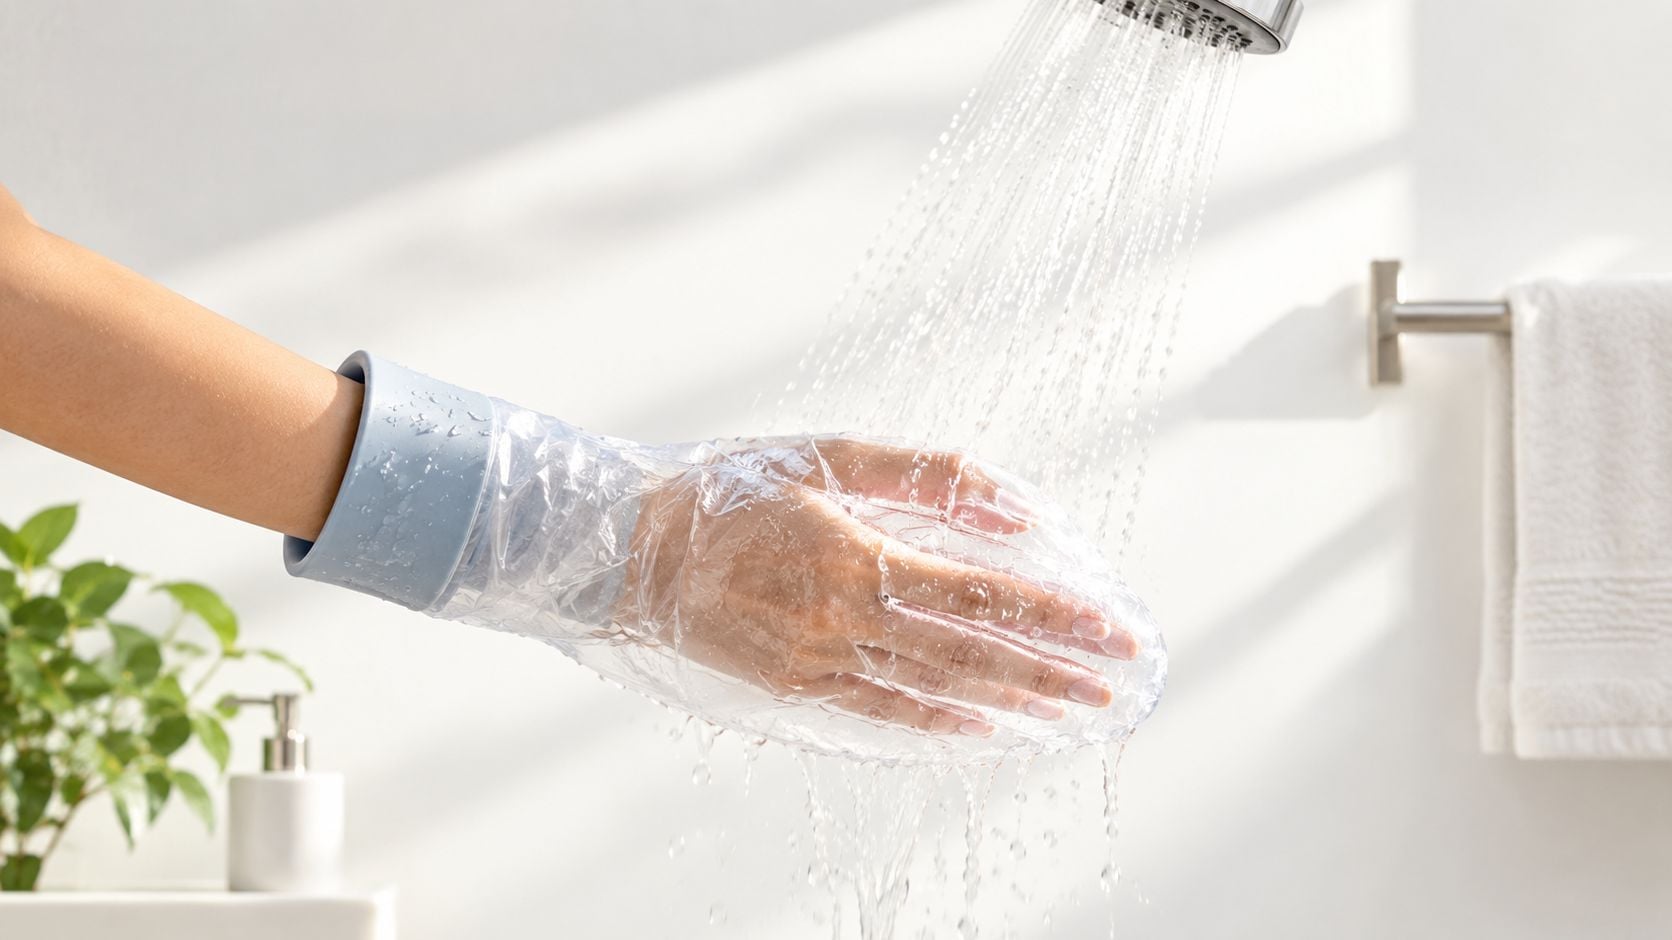
Showering without soaking the wrap
Use a commercial waterproof cover or a clean plastic barrier secured above the dressing. The seal should be comfortable and should not compress the wrist. Keep the operated hand away from the direct spray, and don't place it under bathwater, in a sink, or in a basin unless the surgeon has explicitly allowed immersion.
If water gets inside, the patient shouldn't leave a damp dressing against the incision. The surgical team can explain whether it should be replaced immediately and which materials are appropriate. The timing for getting the wound wet varies with closure type and the clinician's protocol.
Sleeping, dressing, and working
At night, support the forearm on pillows so the hand rests in a raised position. The aim is to reduce dependent swelling without forcing the wrist into an extreme position. Loose sleeves are easier to manage than tight cuffs, and front-fastening clothing can prevent snagging the dressing.
Light desk tasks may be possible when discomfort allows, but typing should be brief at first. The recovering hand shouldn't be used to lift, push, grip firmly, or perform repetitive work before clearance. Voice input, a larger keyboard, or help with meal preparation can preserve independence while reducing strain.
A simple daily test is useful: after an activity, ask whether swelling, throbbing, or pain increases and stays raised. If it does, the task was too demanding. Rest, raising the area, and communication with the care team are safer than trying to work through a worsening response.
Recognizing Complications and When to Call Your Surgeon
Patients often assume that any redness or soreness means infection. That assumption creates unnecessary alarm, but the opposite mistake is more dangerous: dismissing a steady deterioration as normal healing. Mild bruising, stiffness, tenderness, and manageable pain can occur after surgery. Symptoms that intensify, spread, or affect circulation need assessment.
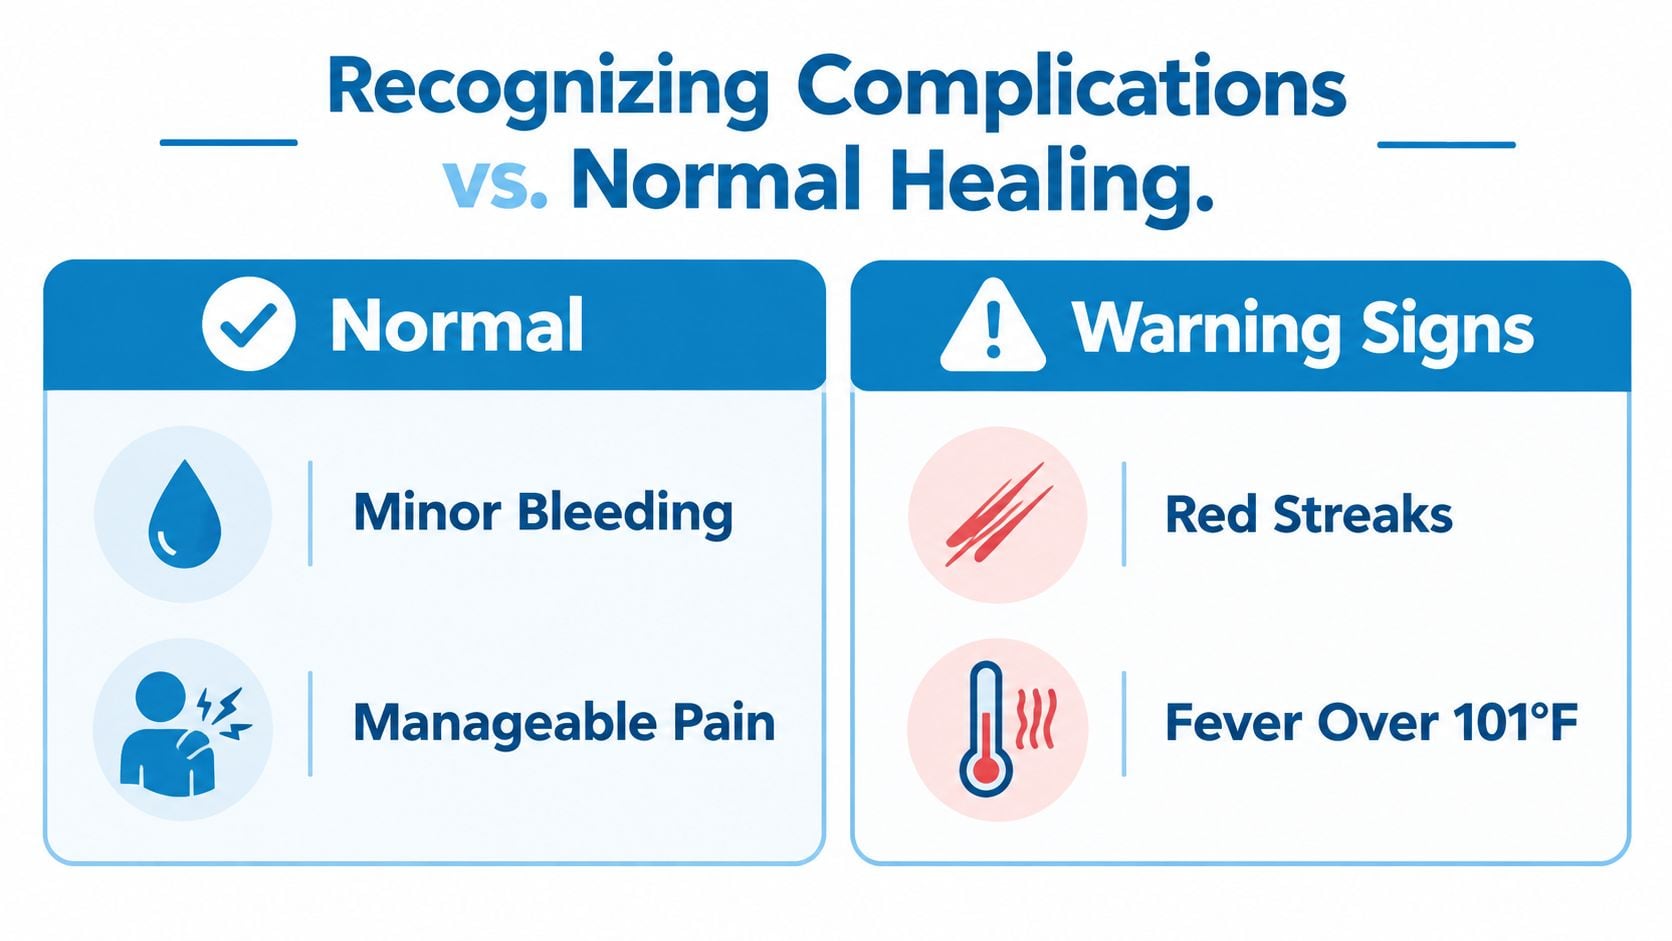
Contact the surgical team promptly for
- Increasing redness: Redness that spreads outward, especially with warmth or swelling, is more concerning than a stable, narrow area around the incision.
- Drainage or odor: Pus, foul-smelling fluid, or a dressing repeatedly becoming soaked requires clinical advice.
- Fever or feeling acutely unwell: A fever after surgery should be reported, particularly when it occurs with wound changes.
- Severe or escalating pain: Pain that isn't relieved by the prescribed plan, rest, or elevation shouldn't be managed by merely tightening the dressing.
- Circulation changes: Pale, blue, or cold fingers, new swelling that rapidly worsens, or difficulty moving the fingers can indicate excessive pressure or another urgent problem.
- New neurological symptoms: Sudden worsening numbness, weakness, or loss of sensation should be communicated without delay.
The bandage itself may be the cause of some symptoms. If tingling or pressure begins after a new wrap is applied, the patient should contact the surgical team before attempting a major adjustment. Emergency services are appropriate for severe uncontrolled pain, a markedly cold or discolored hand, or rapidly worsening symptoms.
General wound guidance, including practical infection-prevention habits, is available in these Evo Dyne Products home care tips. That information can support basic hygiene, but it can't replace the surgeon's examination or postoperative instructions. Patients who need clarification about an incision, dressing, or follow-up can use the practice's contact page.
Your Two-Week Bandage and Recovery Timeline
Recovery usually moves from maximum protection to lighter coverage, not from a bulky wrap straight to unrestricted hand use. The exact schedule depends on the surgeon, closure, bleeding, and wound appearance.
- Early recovery: Keep the original dressing clean and dry, raise the hand when resting, and move the fingers gently if permitted. Finger motion helps prevent avoidable stiffness without stressing the incision.
- After the initial dressing period: Some protocols reduce the bulky wrap and use a light adhesive covering. A randomized study found that removing the bulky dressing after 48 to 72 hours and replacing it with an adhesive strip did not worsen short-term outcomes compared with keeping the bulky dressing for about two weeks. The study is available in the mini-open dressing trial.
- Following review: The team checks the incision, swelling, sensation, finger movement, and any sutures or adhesive material. The wound may need continued light protection even when a rigid splint is no longer needed.
- Later healing: As the incision closes and tenderness settles, the dressing can often become less restrictive. Heavy lifting, forceful gripping, and repetitive wrist loading should wait until the surgeon provides clearance.
The practical tradeoff is clear. Reviews and randomized studies indicate that bulky dressings, plaster casts, or splints don't outperform lighter bandaging for many outcomes and may create more discomfort, while waterproof or adhesive-based approaches can reduce dressing changes. That evidence is summarized in this review of postoperative dressing and closure approaches.
For workplace first-aid planning, information about first-aid cool packs for UK businesses may be useful, but ice or cold therapy should only be used around a surgical site as directed by the clinical team.
Interventional Pain Management evaluates carpal tunnel symptoms and offers care ranging from conservative treatment to surgical intervention, with postoperative guidance tailored to the incision and hand function. Patients in New Jersey and Staten Island can visit Interventional Pain Management to request an assessment or discuss concerns about recovery and bandage care.